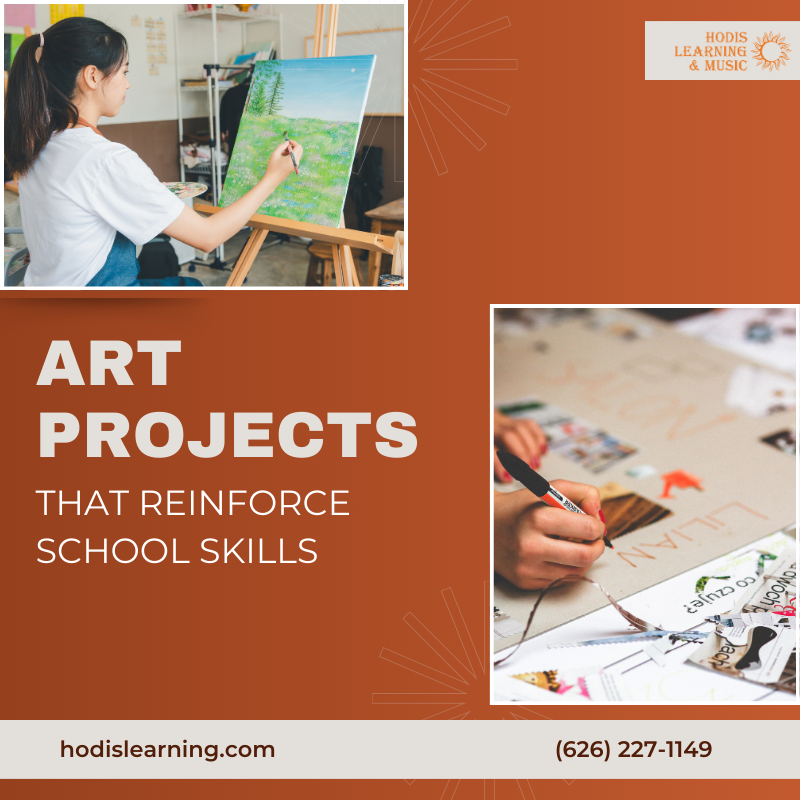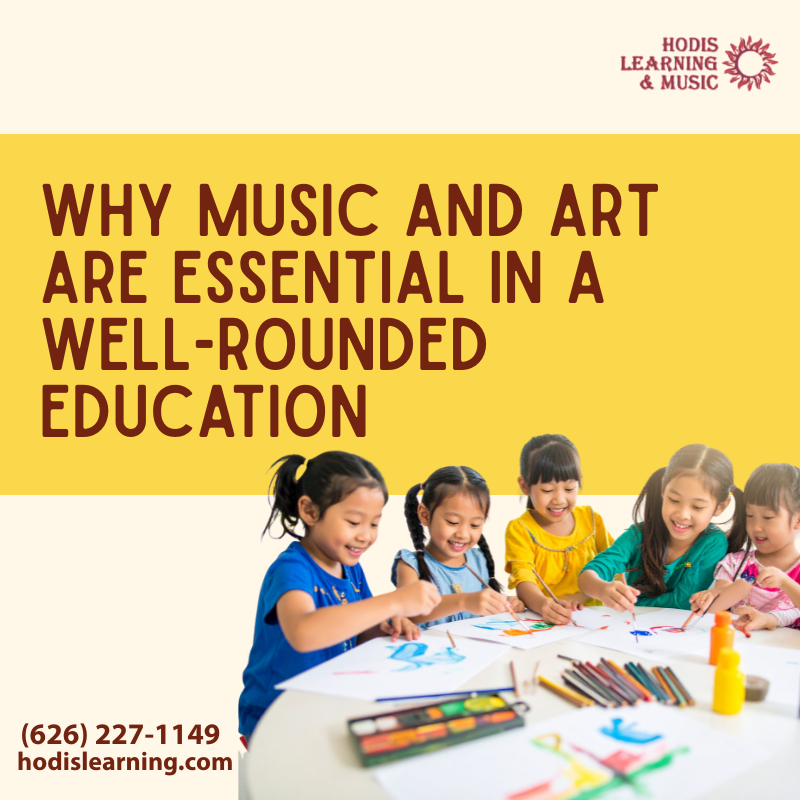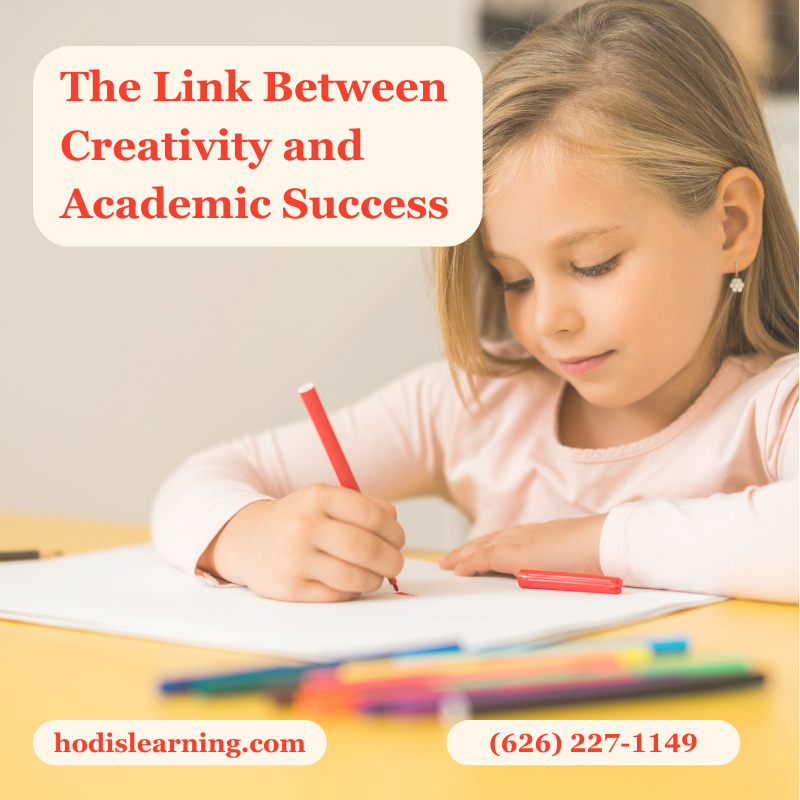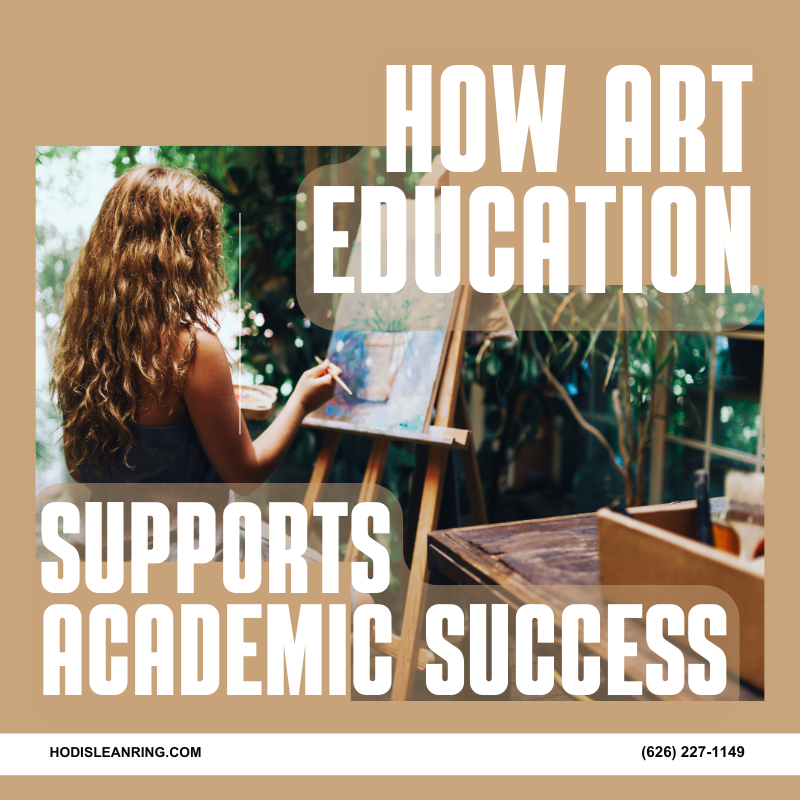
Art education is often seen as separate from traditional academics, but in reality, it strengthens many of the same skills students need to succeed in school. From problem-solving to observation, the habits developed through art can directly support performance in subjects like math, science, and writing.
Art Builds Decision-Making Skills
Every creative project involves a series of choices. Students decide how to approach an idea, what materials to use, and how to revise their work along the way.
This kind of decision-making mirrors academic problem-solving. Whether working through a math equation or organizing an essay, students benefit from the ability to evaluate options and adjust their approach when needed.
Encouraging Flexible Thinking
Unlike many academic assignments, art rarely has one “correct” answer. Students learn to explore multiple possibilities and experiment with different solutions. This flexibility is valuable in academic settings where:
- Problems can be approached in different ways
- Open-ended questions require interpretation
- Creativity improves the quality of work
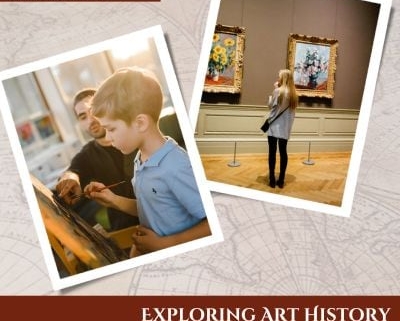
Strengthening Observation and Attention to Detail
Art requires students to look closely at shapes, patterns, colors, and composition. Over time, this builds strong observation skills. These same skills apply to academic situations like analyzing reading passages, identifying patterns in math, or interpreting data in science. Plus, careful observation often leads to better understanding and fewer mistakes when it comes to assignments.
Improving Focus and Persistence
Creative projects take time. Students learn to stay engaged, work through challenges, and refine their work instead of rushing to finish. This kind of sustained focus is especially helpful for long-term assignments, studying for exams, and writing essays.
Art also naturally encourages patience and follow-through, which are necessary with assignments that require multiple feedback rounds.
Making Learning More Engaging
For many students, art provides a different entry point into learning. It can make abstract or challenging concepts easier to visualize. Students who benefit from visual learning might benefit from activities like drawing diagrams to understand science concepts, creating visual timelines for history, or using design to organize ideas for writing.
When students engage with material creatively, it often becomes more memorable.
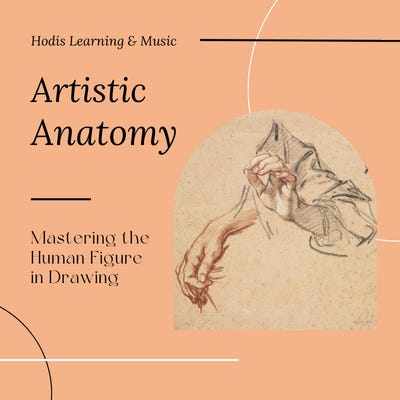
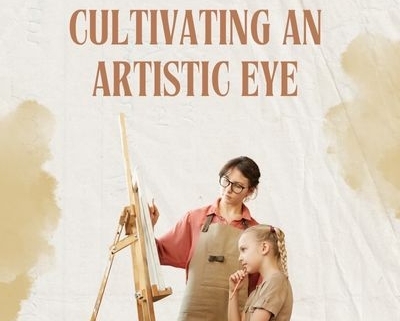
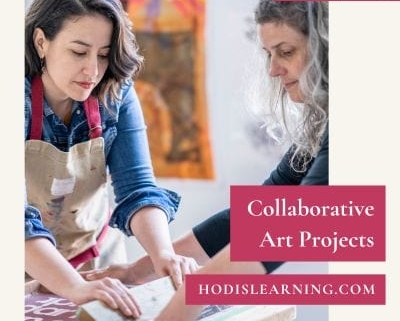
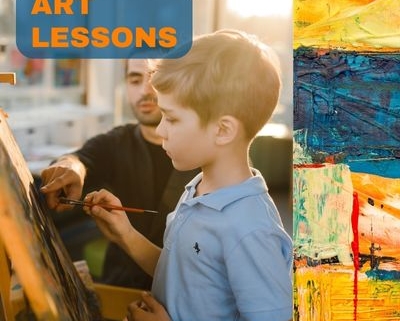
How Art Lessons Support Student Growth
At Hodis Learning & Music, art lessons are designed to give students a space to develop their creativity while building skills that carry into academic work. Through drawing, painting, and other visual art forms, students practice observation, planning, and refining their ideas over time.
Each lesson is personalized, allowing students to explore their interests while also developing foundational techniques. This balance helps students stay engaged and continue progressing.
Final Thoughts
Art education strengthens the way students think, observe, and approach challenges. These skills naturally support success across academic subjects.
If your student is interested in building their artistic skills or would benefit from a creative outlet, HLM offers personalized art lessons tailored to each learner. Call us at (626) 227-1149 or submit a contact form on our website to get started.